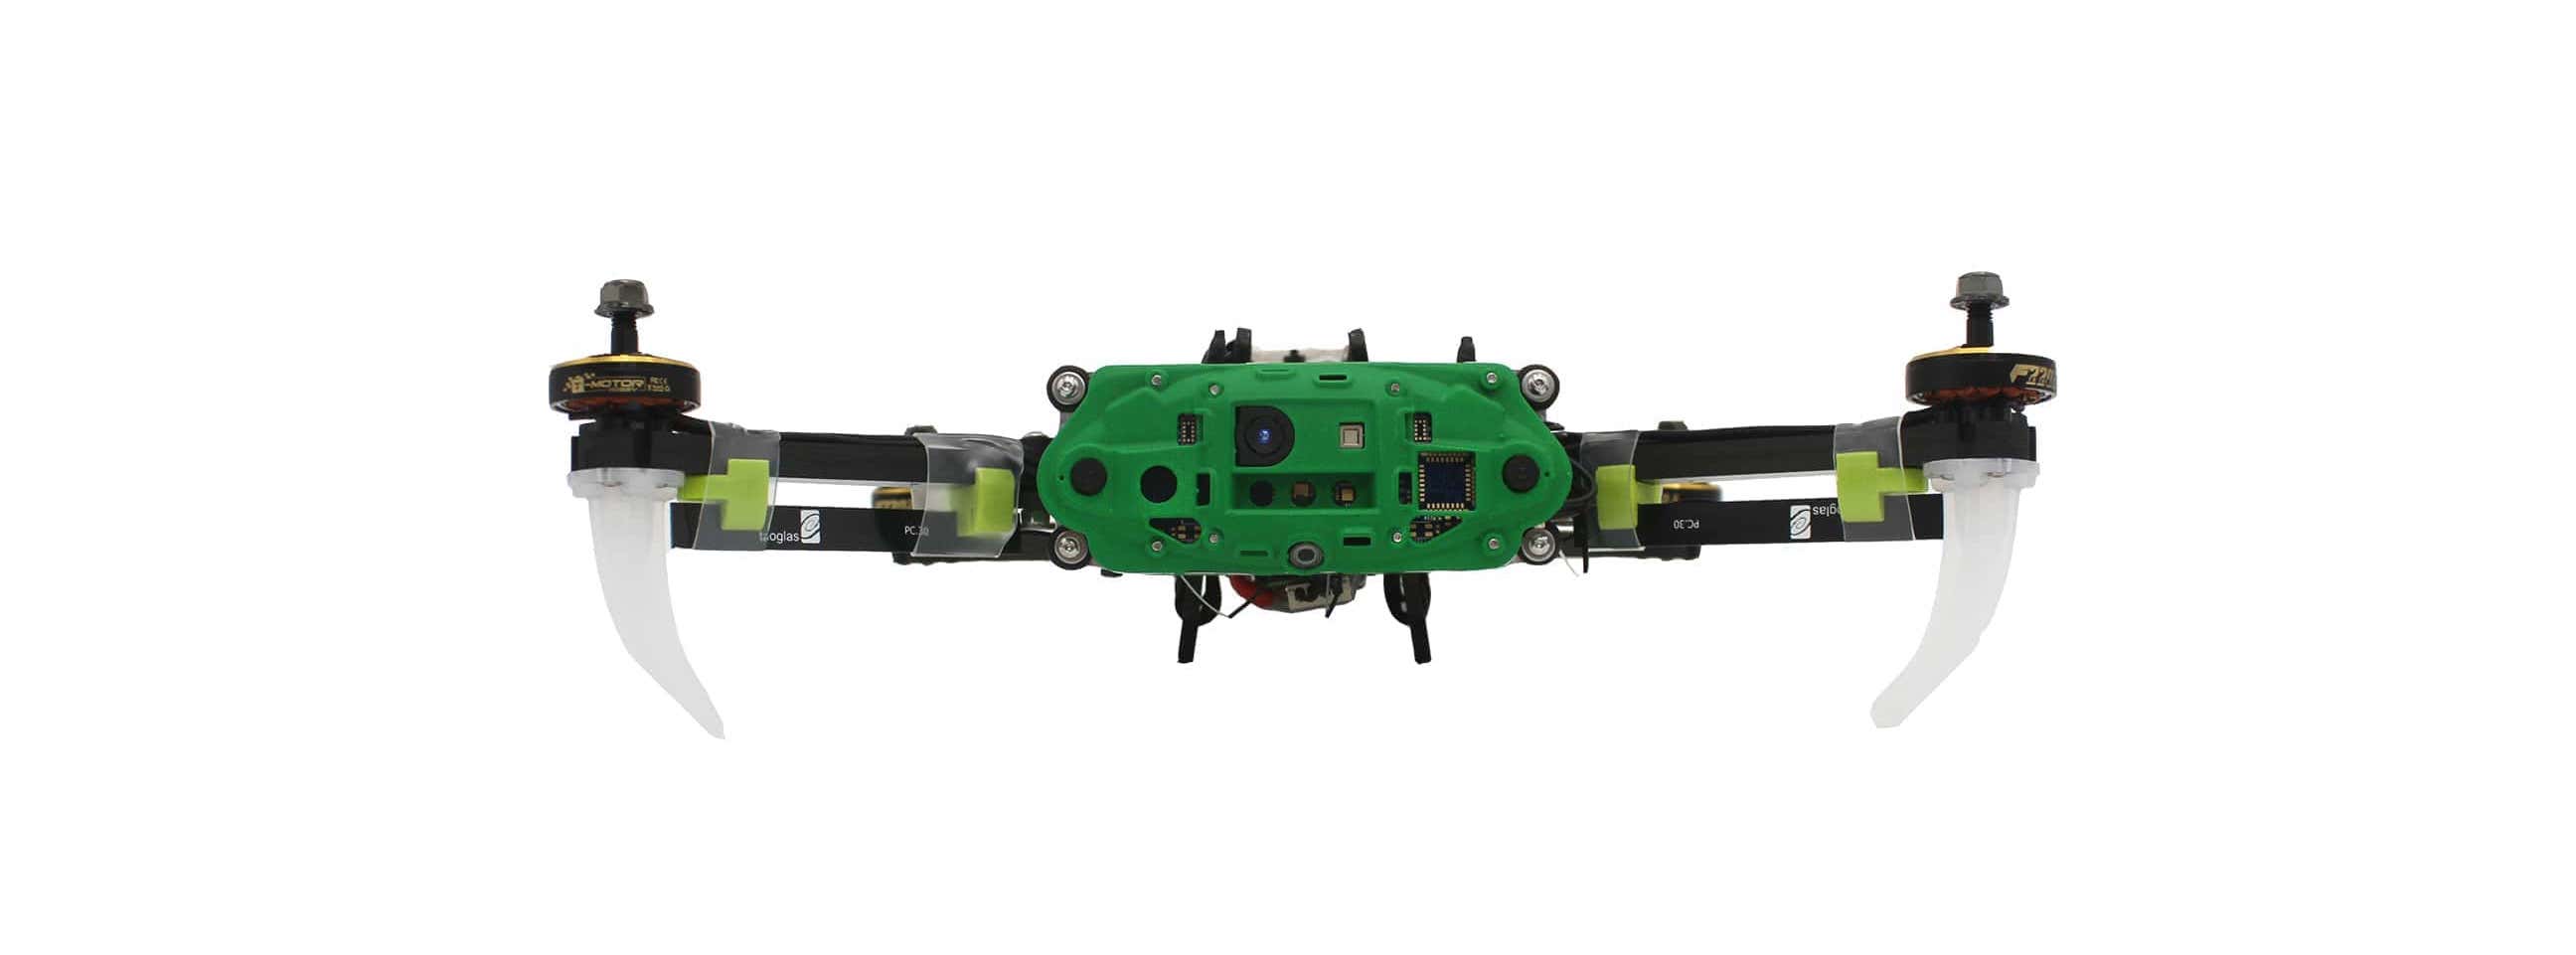
Seeker Hardware Quickstart
This section contains a hardware quickstart and is intended for developer type users. It provides the minimum steps needed to get a device powered up and ready to connect to a console.
WARNING: Unmanned Aerial Systems (drones) are sophisticated, and can be dangerous. Please use caution when using this or any other drone. Do not fly in close proximity to people and wear proper eye protection. Obey local laws and regulations.
For technical details, see the datasheet.
Quickstart Video
How to Power On and Prepare to Connect
1. Ensure propellors are removed

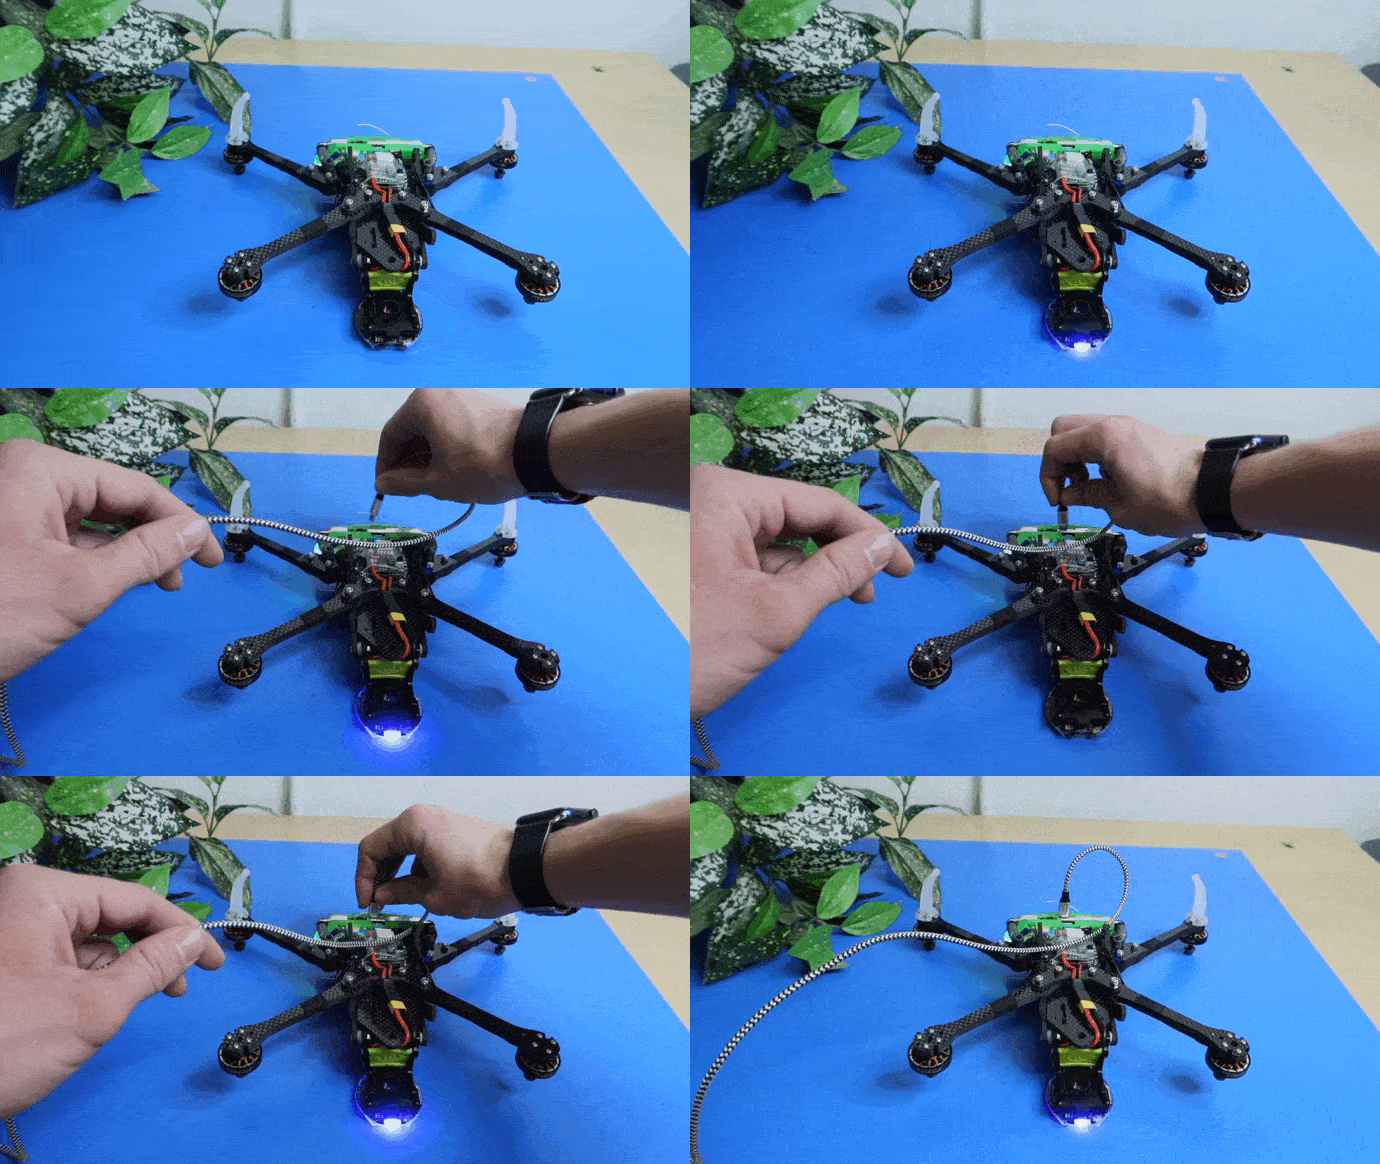
2. Connect USB Micro Cable
- Connect Micro B side of USB cable to VOXL Flight
- Connect other side of USB cable (recommended USB type A) to host computer for later use

3. Power ON
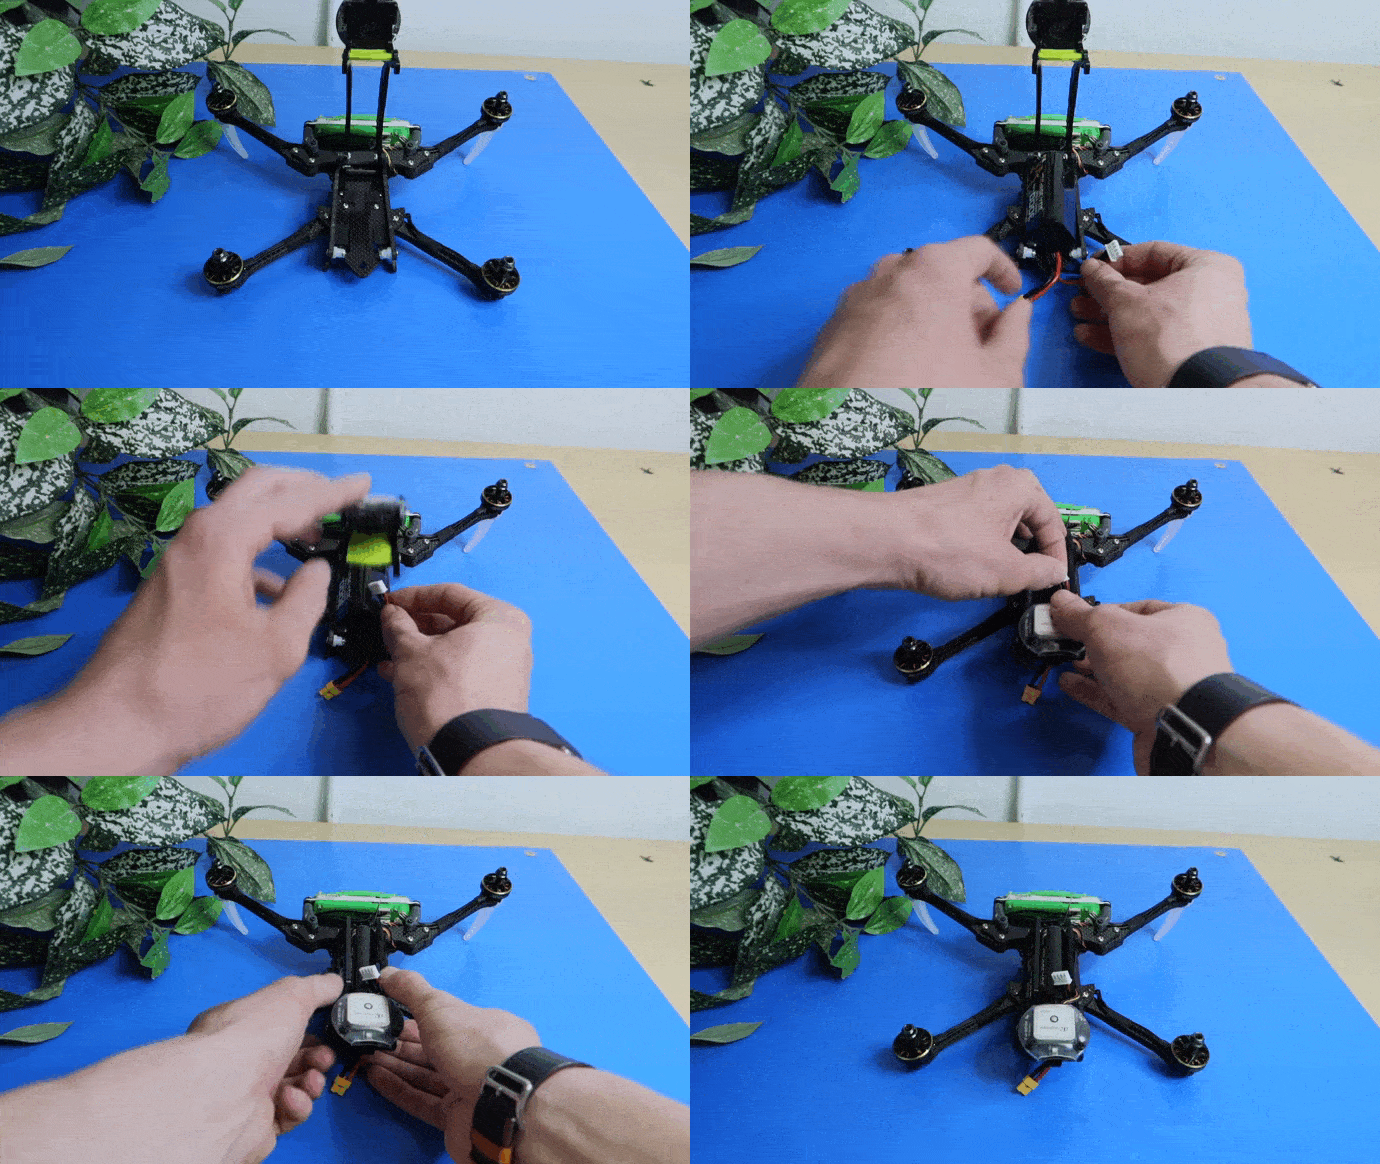
Seeker requires a 3 cell lithium ion battery with an XT30 connector. To install a 3S battery into seeker, open the battery cage, and place the 3S battery in. Make sure the battery’s wires are facing downwards. Then, take the balance lead, and string it through the top of the locking mechanism as shown. Once the cabling is out of the way, push the latch down until it locks.

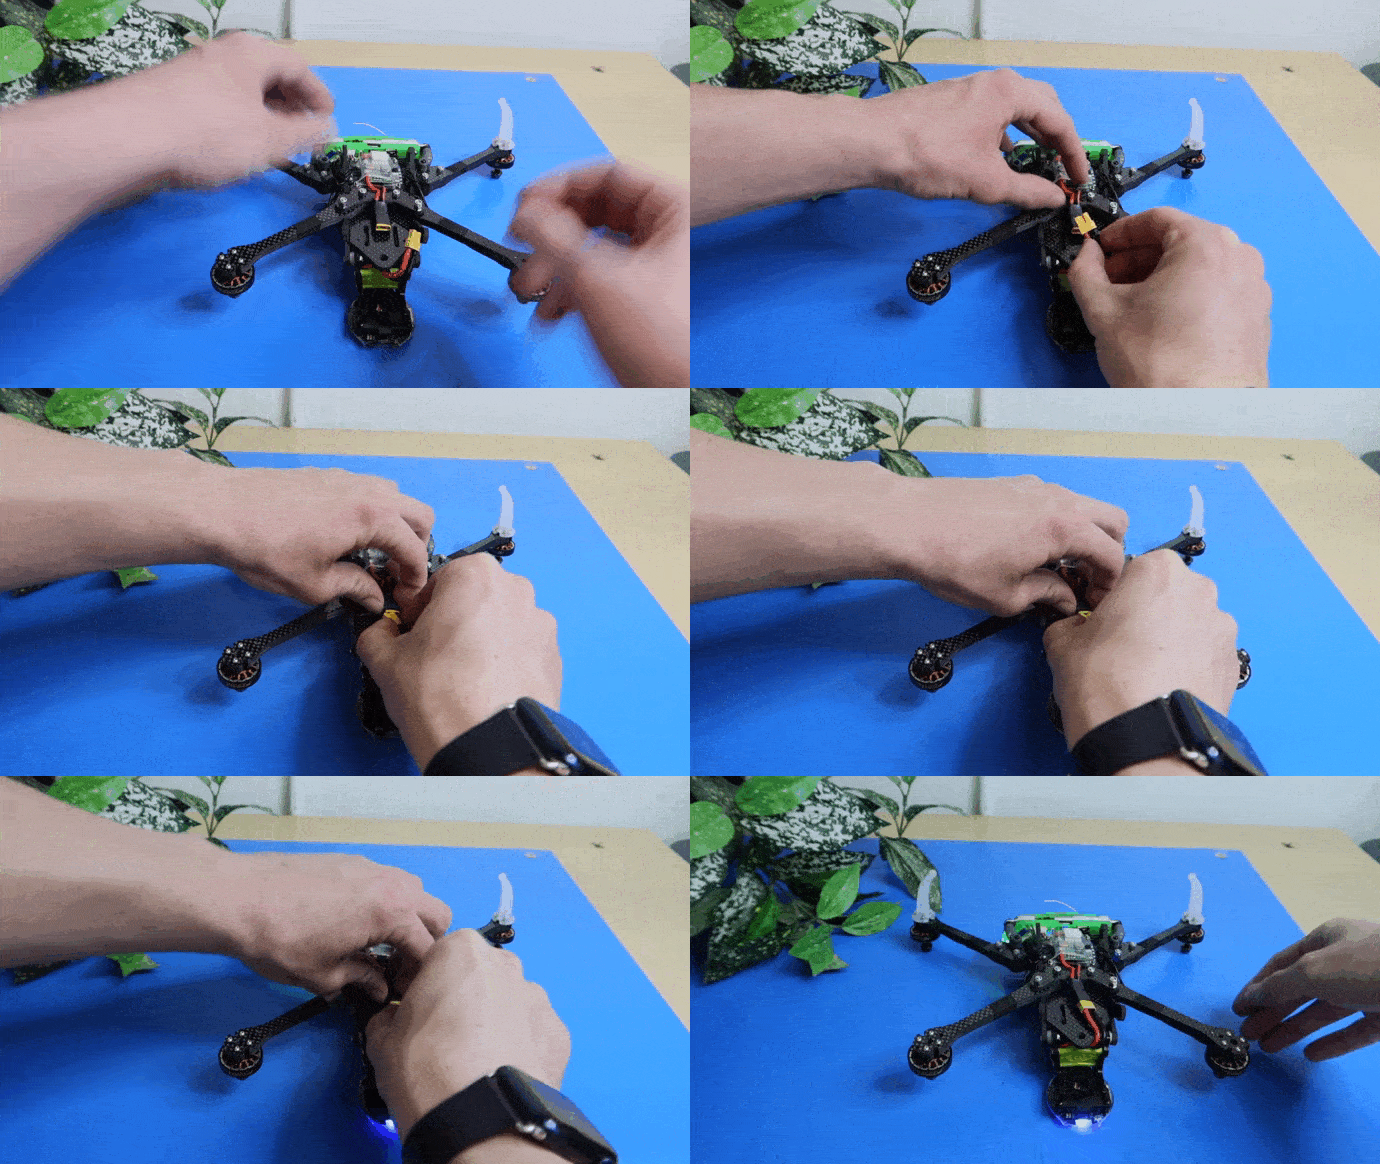
Power on Seeker by connecting the battery’s XT30 connector onto the other end of the connector on the bottom side of the drone as shown below.

- NOTE: do not arm the vehicle while using wall power
WARNING: Keep a fan on the back of Seeker’s VOXL-CAM when the drone is powered on in a static state to avoid the unit from overheating.
How to Power Off
Pulling the power is okay in normal operation. If you are logged into VOXL and have been modifying files on the file system then it’s recommended to run sync to make sure your changes are flushed to flash memory before pulling power.
Do not pull power while flashing software as this can brick the device.