LegacyThis documents a legacy product. Newer alternatives may be available.
VOXL m500 User Guide
This guide will walk you from taking the VOXL m500 out of the box and up into the air!
For technical details, see the datasheet.
Unmanned Aerial Systems (drones) are sophisticated, and can be dangerous. Please use caution when using this or any other drone. Do not fly in close proximity to people and wear proper eye protection. Obey local laws and regulations.
Table of contents
Overview
Required Materials
To follow this user guide, you’ll need the following:
- Spektrum Transmitter
- e.g. SPMR6655, SPM8000 or SPMR8000
- Any Spektrum transmitter with DSMX/DSM2 compatibility will likely work
- Buy Here
- LiPo 4S battery with XT60 connector
- Buy Here
- Host computer with:
- QGroundControl 3.5.6+
- Wi-Fi
- a terminal program
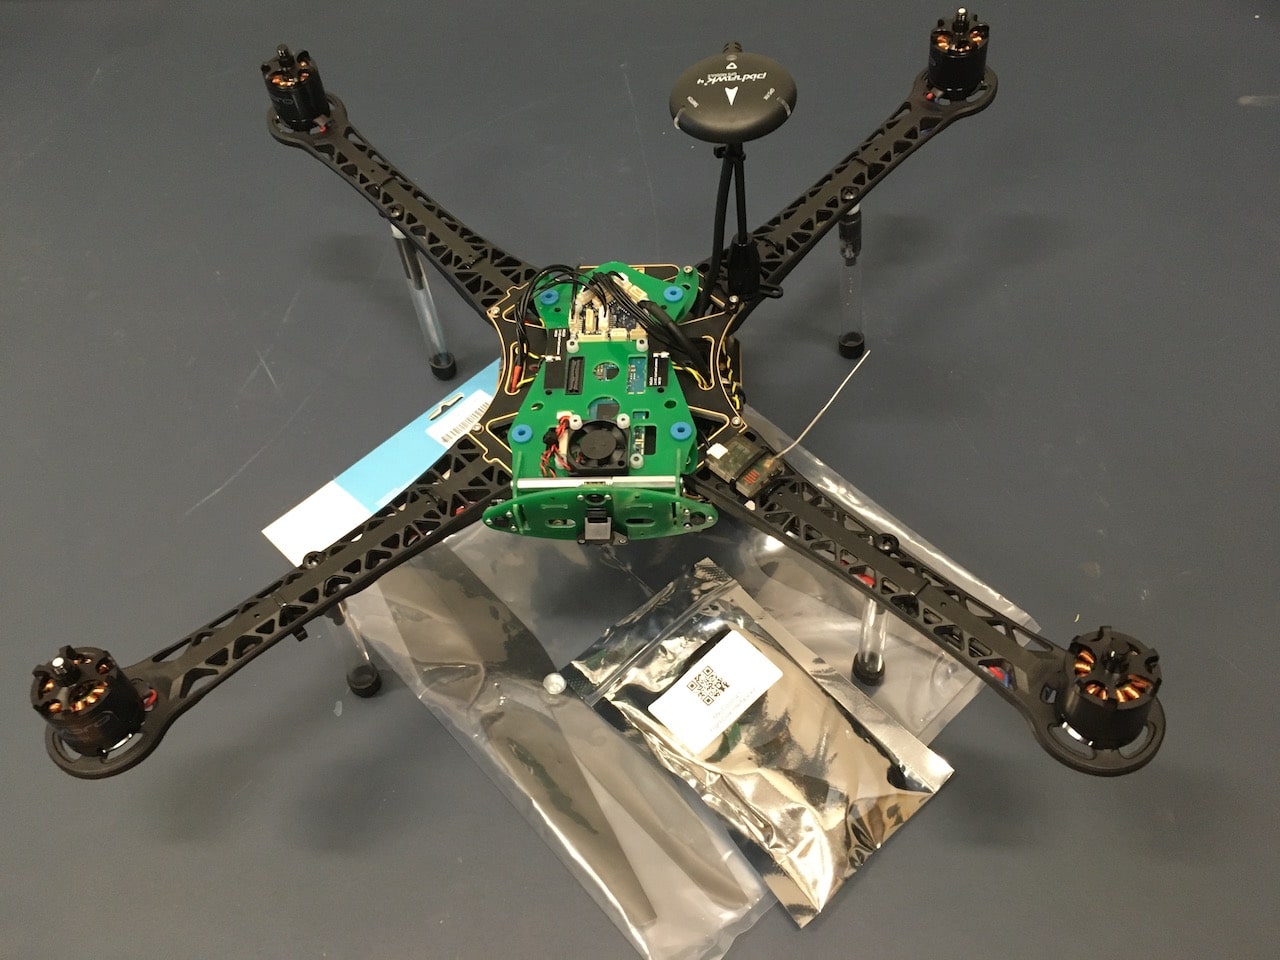
What’s in the Box
Included in the box are:
- VOXL m500 with Spektrum receiver (note: the system supports FrSky receivers like X8R, see below)
- 10” props
- USB-to-JST Cable (not used in this guide)
- Spare landing gear mounting screws